Using the Wizard to Create a Query
Using the Wizard to Create a Query
Queries created by the wizard provide a list or lists of information based upon what one wants to know. It is possible to obtain all the records meeting the desired conditions or aggregated results such as the sum of data from multiple records.
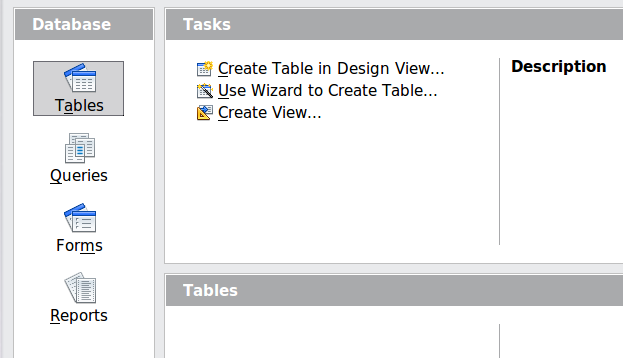
In the main database window (Figure 160), click the Queries icon in the Databases section, then in the Tasks section, click Use Wizard to Create Query. The Query Wizard window opens (Figure 189). We want to display the PersonID, the date and the amount of each sale, sorted by the date and including only sales with an Amount greater than or equal to 100.
| When working with a query, more than one table can be used. Since different tables may contain the same field names, the format for naming fields in a query is Table name.field name, with a period (.) between the table name and the field name. For example, the Date field of the Sales table used in a query has the name Sales.Date. |
Step 1: Select the fields
- Select the Sales table from the dropdown list of tables.
- Select fields in the Available fields list. This step has already been done in the figure.
- Click PersonID, and use the < button to move it to the Fields in the Query list.
- Move the Date and Amount fields in the same manner.
- Click Next .
| To change the order of the fields, select the field you want to move and click the up or down arrow. |

Step 2: Select the sorting order
The Wizard allows up to four fields to be used to sort the information of our query. The query language, SQL, does not have a limit on the number of fields that can be used for sorting. In our case, we only want to sort by the date. Set the Sort by list to Sales.Date, leave the Ascending button selected and click Next . Figure 190 shows the dialog just before clicking Next.

Step 3: Select the search conditions
The search conditions allow us to compare the field values with desired values and decide whether to include a particular record in our query result or not. Among the choices are:
- is equal to
- is not equal to
- is smaller than
- is greater than
- is equal or less than
- is equal or greater than
- like (used for wildcard matching of text)
| These conditions apply to numbers, letters (using the alphabetical order), and dates. |
The conditions can be related to each other with AND, so that all the conditions have to be met, or with OR, so that only one condition need be met. We want to limit the records to amounts greater than or equal to 100.
- Since we are only setting one condition, we will use the default setting of Match all of the following.
- We are looking for data beyond a certain value. Select Sales.Amount in the Fields list and is equal or greater than as the Condition.
- Set the Value box to 100. Click Next .
Step 4: Select type of query
We want all the records that meet the criterion returned, so the default setting: Detailed query is what we want. Click Next at the bottom of the window.
| Since we have a simple query, the Grouping and Grouping conditions are not needed. Steps 5 and 6 of the wizard are skipped in our query. |
Step 7: Assign aliases if desired
We use the default settings, but it is often useful to give descriptive names at this point. Click Next .
Step 8: Overview
Name the query (suggestion: SalesAbove100). To the right of this are two choices. Select Display Query. Click Finish . You will now see a display of the selected rows in the same style that database tables are displayed.
| Content on this page is licensed under the Creative Common Attribution 3.0 license (CC-BY). |