Examples for your own experiments

From Apache OpenOffice Wiki
Jump to: navigation, search


All examples use objects in 3D scenes.


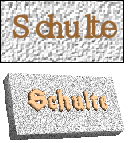
DG7-94.png Extruding a 2D object with text will generate letters as separate objects and they will have a larger extrusion depth.
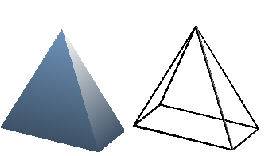
DG7-95.png 3D objects of the type “Shape” can be rendered as wireframe models. This effect can be produced in other 3D objects by setting the Area fill to “None” and the line style to “Continuous”.
DG7-96.png If you select several 2D objects – without grouping them – and extrude the selection, they will be transformed, according to their stacking order, with different extrusion depths. The object previously on top will be uppermost on the extruded object.
DG7-97.png For 2D objects use the option Modify > Shapes > Merge/Subtract/Intersect to produce complex objects. The resulting figures can be also extruded, rotated and so on.
DG7-98.png Rotation of lines produces concave bodies. Use a bright line color. With a high number of vertical segments the transition to the ground will be relatively sharp edged. Remember to switch on “two sided illumination”.
DG7-99.png The transparency of the platter is adjusted in the surface properties of the body. The best effect is obtained only when the transparent body is combined with other objects.

The color shadow of the fruit is produced by the use of multiple light sources – they are not “real”, and do not rotate and change as the scene is rotated.


Content on this page is licensed under the Creative Common Attribution 3.0 license (CC-BY).
Personal tools