Using the Navigator
From Apache OpenOffice Wiki
The Navigator displays all objects contained in a document. It provides a very convenient way to move around a document and find items in it. The Navigator button is located on the Standard Toolbar.
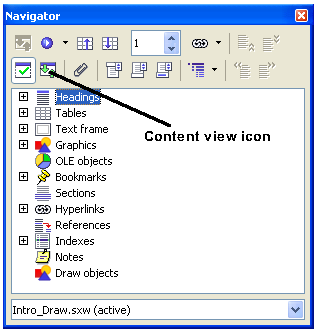
The Navigator displays lists of Headings, Tables, Bookmarks, Graphics, Text frames, and other items. Click the + sign by any of the lists to display the contents of the list.
If you only want to see the content in a certain category, highlight the category and click the Content View icon.
| The Navigator looks somewhat different in a master document. See Chapter 13 (Working with Master Documents) in the Writer Guide for more details. |
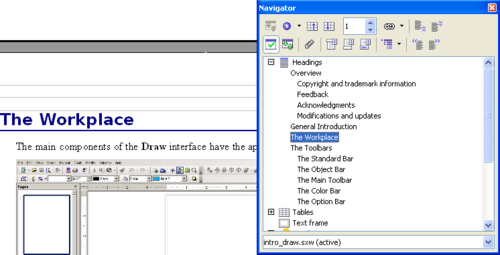
The Navigator helps you to reach objects quickly. Double-click on the object in the Navigator to jump directly to that object's location in the document, as shown below.
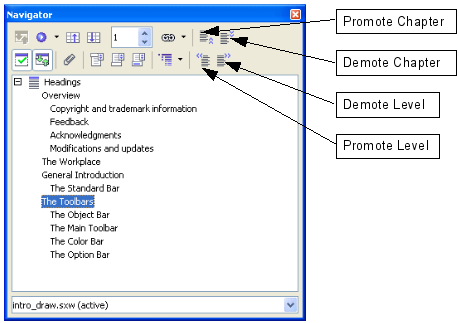
You can arrange chapters and move headings in a Writer document by using the Navigator.
- Click the Content View icon.
- Click on the heading in question.
- Drag the heading to a new location on the Navigator or click the heading in the Navigator list, then click Promote Chapter or Demote Chapter.
| Content on this page is licensed under the Creative Common Attribution 3.0 license (CC-BY). |


