Applying frame styles
From Apache OpenOffice Wiki
Whenever you insert an object into a document, it will automatically have a frame around it. Some designers like to add frame styles to introduce variety. For example, you could have two different frame styles for graphics: one that is centered for small graphics and another that is left-aligned for graphics that take up the entire width of the main frame. In such a case, you need to add at least one frame style.
To apply a style to a frame:
- Select the frame.
- Bring up the Styles and Formatting window (for example, by pressing F11).
- Click the Frame Styles icon (the third one from the left).
- Double-click the frame style you want.
Most of a frame’s design can be set in a style. However, the following options must be set manually:
- Anchoring: how the frame is positioned in relation to the rest of the page’s contents (Format > Anchor).
- Arrangement: the frame’s position in a stack of objects (Format > Arrange).
- Adding a hyperlink: so that a click on the frame opens a Web page or another document in an HTML file (Insert > Hyperlink).
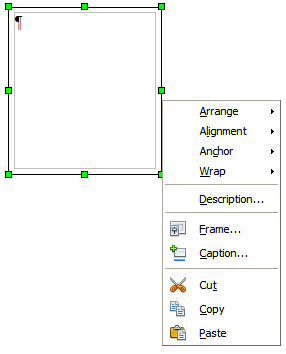
The right-click menu also has items for anchoring and arrangement, as well as for wrap and alignment.
| Content on this page is licensed under the Creative Common Attribution 3.0 license (CC-BY). |
