Positioning objects with Zoom
From Apache OpenOffice Wiki
- Positioning objects with Zoom
- Positioning objects with snap functions
- Snap to grid
- Snap to snap objects
- Other snap functions
- Positioning objects with helper lines
- Drawing to scale
- Splitting complex drawings on multiple layers
- Example: house plan and furniture
- Multi-page document
- Using page backgrounds
- Color palette
- Using the color picker dialog
- Cool effects

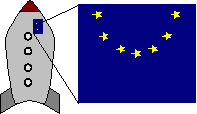
Figure 1: Using zoom to place objects with greater precision.
Zoom adjustments using the status bar
The current zoom value is displayed in the status bar:
![]()
Figure 2: Zoom level on the status bar.
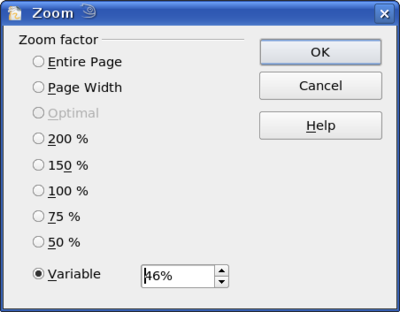
A double-click on the zoom value opens the Zoom window from which you can change the zoom factor (a right-click opens a more limited selection list).
You can enter a zoom factor in the Variable field, select from one of the preset zoom values, or use one of the three other choices:
- Entire Page: The entire page is displayed on the monitor.
- Page Width: The right and left page edges are set to the vertical edges of the monitor.
- Optimal: The drawing (or selected object) is so enlarged that it just fits in the monitor window.
The Zoom toolbar
The Zoom toolbar provides additional zoom options. On the Standard toolbar (View > Toolbars > Standard), click on the downwards arrow of the Zoom button ![]() . You can also permanently display the toolbar by clicking on View > Toolbars > Zoom.
. You can also permanently display the toolbar by clicking on View > Toolbars > Zoom.
| Content on this page is licensed under the Creative Common Attribution 3.0 license (CC-BY). |

