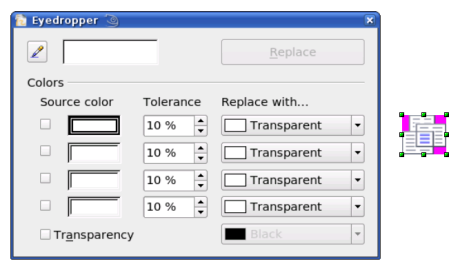
Eyedropper
With the eyedropper you can change one color in a picture for another or set the the color as transparent. The tool works always on the entire picture; you cannot select only a region for editing.
The changes are carried out on the graphic itself. For this reason you cannot use the eyedropper tool on a linked graphic. If you try, you will receive the following message.
The tool can be used on all raster graphic formats and with many Metafile formats.
| Contrary to the statement in the Help, the eyedropper does not currently work on some Metafile formats. |
Practical Example: Changing wrong colors to transparency
Some applications, which cannot correctly handle transparency, show transparent areas with the color Magenta and then store the graphic without the correct transparency information with this color.
| |
|
Bitmap graphic with area in magenta, which actually should be shown transparent. On the left is the original picture, right is the picture after saving it with MS Paint. |
If you receive such a picture, you can recreate the transparency with the eyedropper tool.
Open the Eyedropper dialog with Tools > Eyedropper and click on the picture to be edited.
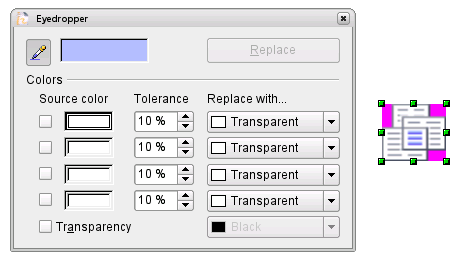
Now click on the icon ![]() , to change to the color selection mode. Outside the dialog the cursor changes to a hand. The field next to the icon shows the color immediately under the hand cursor.
, to change to the color selection mode. Outside the dialog the cursor changes to a hand. The field next to the icon shows the color immediately under the hand cursor.
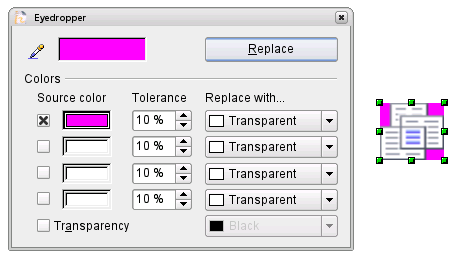
Click on the color to be changed. The first Source Color box is now marked and the color selected appears in the left box. In the Replace with selection list, the option Transparent is already selected. You can then click on the Replace button at the top right of the box to carry out the changes to the picture. There is no preview of the effect. If the result is not what you wanted, choose Edit > Undo.
The dialog does not close automatically, so you can carry out further color replacements. Mark first the field for the Source color and choose again the color with the eyedropper. Close the dialog with Ctrl-F4 or the close icon on the window border. Draw uses an Alpha channel for transparency so that pixels of different colors can be made transparent.
It is also possible to carry out the operation in reverse. to change a transparent area to a color. For this process, select nothing in the graphic but mark the Transparency checkbox at the lower left of the dialog and at lower right select the color to replace areas which are currently transparent.
The selection list for replacement colors shows all the available colors in the current color palette of the document. You cannot define any new colors here but you can add colors to the available palette before using the eyedropper tool. More on this topic is contained in Chapter 8 (Tips and Tricks).
Effect of the ‘Tolerance’ parameter
The tolerance parameter describes how exactly a color value in the picture must agree with the source color, in order to be replaced. In the figure the red color tone at the left edge of the color palette was input and a pure blue chosen as the replacement color. The original is a rectangle with color palette from red to green. Because the eyedropper is not usable on drawings, the rectangle on the left side was converted into a raster graphic (Convert > Bitmap). The picture was then exported in a Enhanced Metafile format and again inserted.
| The application of transparency effects on raster graphics and Metafiles leads to quite different results. This is a problem which is known and will be corrected in a future version. |
| Content on this page is licensed under the Creative Common Attribution 3.0 license (CC-BY). |


