Tables of Contents
From Apache OpenOffice Wiki
- Tables of contents
- Customizing a table of contents
- Using the Index/Table page
- Using the Entries page
- Using the Styles, Columns, and Background pages
- Maintaining a table of contents
- Alphabetic indexes
- Customizing index entries
- Customizing the appearance of an index
- Maintaining an index
- Other types of indexes
- Bibliographies
- Creating a bibliographic database
- Adding a reference (citation) into a document
- Formatting the bibliography
- Defining the paragraph style for the bibliography
- Updating and editing an existing bibliography
Writer’s table of contents feature lets you build an automated table of contents from the headings in your document. Before you start, make sure that the headings are styled consistently. For example, you can use the Heading 1 style for chapter titles and the Heading 2 and Heading 3 styles for chapter subheadings.
This section shows you how to:
- Create a table of contents quickly, using the defaults.
- Customize a table of contents.
Creating a table of contents quickly
Although tables of contents can be customized extensively in Writer, most of the time you will probably find the default to be fine. Creating a quick table of contents is simple:
- When you create your document, use the following paragraph styles for different heading levels (such as chapter and section headings): Heading 1, Heading 2, and Heading 3. These are what will appear in your table of contents. You can use more levels of headings, but the default setting is to use only the first three levels in the table of contents. It could look like the figure below if you used the default styles.
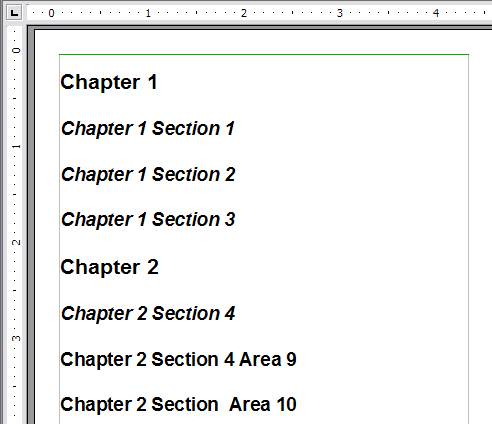 Headings example.
- Place the cursor where you want the table of contents to be inserted.
- Select Insert > Indexes and Tables > Indexes and Tables.
- Change nothing in the Insert Index/Table dialog box. Click OK. The result will look like the figure below.
 Table of contents example.


If you add or delete text (so that headings move to different pages) or you add, delete, or change headings, you need to update the table of contents. To do this:
- Place the cursor within the table of contents.
- Right-click and select Update Index/Table from the pop-up menu.
| Content on this page is licensed under the Creative Common Attribution 3.0 license (CC-BY). |