Documentation/OOoAuthors User Manual/Writer Guide/Using tables for page layout
| [[{{{PrevPage}}}|< Previous Page
]] |
[[{{{NextPage}}}|Next Page
>]] |
Using tables for page layout
Writer's tables can serve several purposes, such as holding data as you might see it in a spreadsheet, lining up material, and creating more complex page layouts. For information about using tables of data, see Chapter 9 (Working with Tables).
This topic describes how to achieve some common layouts by using tables.
Example: Creating sideheads using tables
Sideheads and marginal notes are commonly used in documents from resumes to computer user guides. The main body of the text is offset to leave white space (usually on the left-hand side) in which the sideheads or notes are placed. The first paragraph is aligned beside the sidehead, as shown below.
| Example of a sidehead | In some cases you may want to put only one or two paragraphs in the table itself and the rest of the text and graphics in ordinary paragraphs (formatted to line up with the paragraphs in the table) so that text and graphics will flow more easily from one page to another when you add or delete material. In other cases, you might put each paragraph in a separate row of the table and allow the table to break between pages. |
(Above) Example of a sidehead.
Note: Sideheads can also be created by placing text in a frame using the Marginalia frame style, as described in Chapter 7 (Working with Styles).
To create a table for use with a sidehead:
- Place the cursor where you want the table to appear and choose Insert > Table (Ctrl+F12).
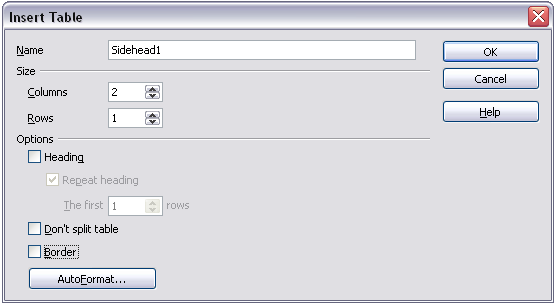
- In the Insert Table dialog box (Figure 21), define a one-row, two-column table with no border and no heading. Click OK to create the table.
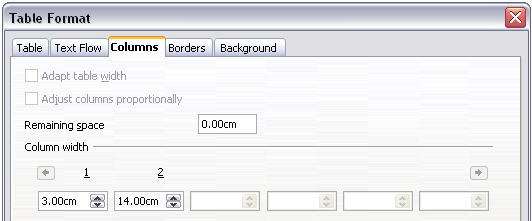
- Position the cursor over the central dividing line in the table. The cursor turns into a double-headed arrow. Left-click and drag to resize the columns. Alternatively, right-click and choose Table from the pop-up menu; on the Columns page, make the columns the required width.
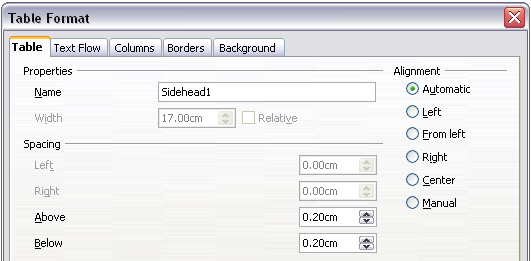
- On the Table page of the Table Format dialog box, in the Spacing section, make the Above and Below values the same as the Top and Bottom spacing you have defined for ordinary paragraphs of text. Click OK to save your settings.

Defining a two-column borderless table with no header.

Defining a two-column table to line up with text offset at 3cm.

Defining the space above and below a table.
Tip: To check the top and bottom spacing for ordinary paragraphs:
- Position the cursor in a paragraph and press F11 (unless the Styles and Formatting window is already open). Check that the Styles and Formatting window shows paragraph styles (top left button).
- The current style should be highlighted. If no paragraph style is highlighted, select All Styles in the bottom drop-down list. Right-click on it and select Modify from the pop-up list.
- Go to the Indents & Spacing page and look in the Spacing area for the values in Above paragraph and Below paragraph.
You may also want to turn off number recognition so that Writer will not try to format numbers if you want them to be plain text. To turn number recognition off:
- Right-click in the table and then click Number Format on the pop-up menu.
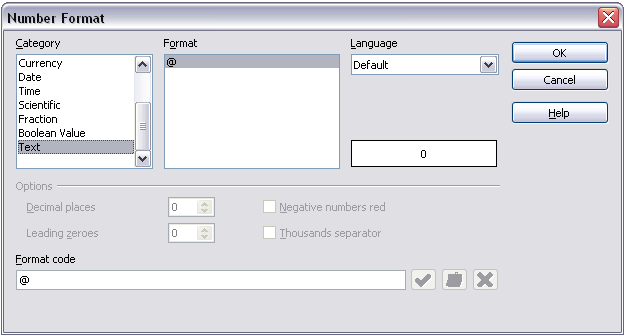
- On the Number Format dialog box, make sure the Category is set to Text. Click OK.

Setting number format to Text.
Tip: If you use this table format often, you may want to save it as AutoText, as described in Chapter 3 (Working with Text). Select the table (not just the contents) to assign the shortcut.
| Content on this page is licensed under the Creative Common Attribution 3.0 license (CC-BY). |