Snap to grid
- Positioning objects with Zoom
- Positioning objects with snap functions
- Snap to grid
- Snap to snap objects
- Other snap functions
- Positioning objects with helper lines
- Drawing to scale
- Splitting complex drawings on multiple layers
- Example: house plan and furniture
- Multi-page document
- Using page backgrounds
- Color palette
- Using the color picker dialog
- Cool effects
Use this function to move an object exactly to a grid point (see Figure 6). This function can be switched on and off with View > Grid > Snap to Grid and on the Options toolbar with the icon ![]() .
.
Showing the grid
Make the grid visible under View > Grid > Display Grid. Alternatively turn the grid on and off with the icon ![]() on the Options toolbar.
on the Options toolbar.
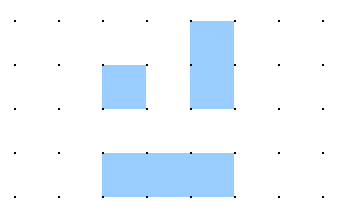
Figure 6: Exact positioning with the snap to grid function.
Changing the color of the grid points
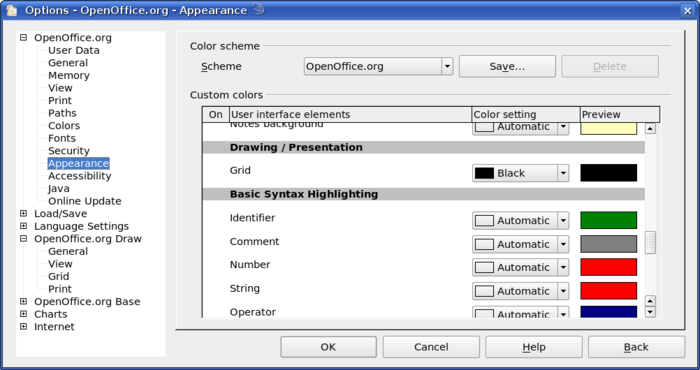
By default the grid points are bright gray and not too easy to see. Under Tools > Options > OpenOffice.org > Appearance in the section Drawing / Presentation the color of the grid points can be changed (see Figure 7). On the Color Settings pulldown menu select a more suitable/visible color, for example black.
Configuring the grid
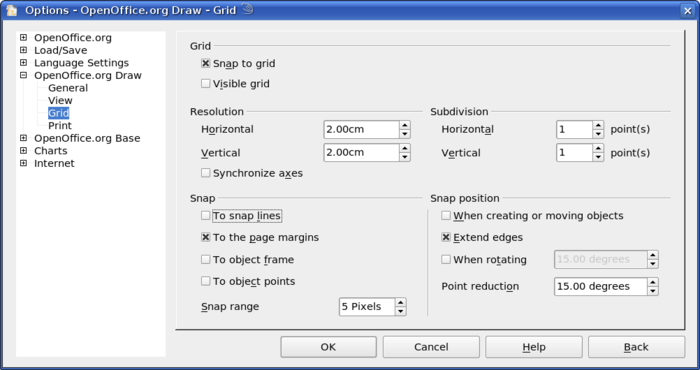
Under Tools > Options > OpenOffice.org Draw > Grid you can change the settings of the grid (Figure 8).
No adjustment is necessary in the Grid field, for these settings can be changed directly from the icons on the Options toolbar.
Resolution: sets the horizontal and vertical distance between two grid points (see Figure 9).
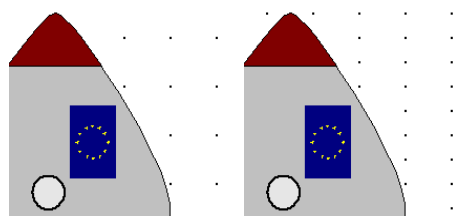
Figure 9: Grids with different resolutions.
Subdivisions: determines how many steps there are between adjacent grid points. Intermediate steps make it possible to have a larger separation between 2 grid points and so the drawing remains clearer (see Figure 10). Objects can snap to intermediate points in exactly the same way as grid points.
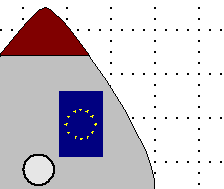
Figure 10: Grid with intermediate steps (subdivisions).
The other settings are largely self-explanatory. One important setting is the field Snap range. Grid points and guiding lines are both optical help elements which are managed separately by Draw. If you have activated a snap function and then move an object, Draw looks in the vicinity of the position of the object for those special help elements. This determines the final position of the object, and with the snap range setting you can determine the extent of this search ‘area’. Exactly how large the snap area is depends on the current environment – which particular snap functions are in use, how the grid is configured and whether or not there may be collisions with other objects. It is usually necessary to do a little experimenting to find what best suits your needs.
| Content on this page is licensed under the Creative Common Attribution 3.0 license (CC-BY). |
