Inserting text on Writer
Template:Documentation/DraftPage
Writer's User Interface
As already commented on the chapter Apache OpenOffice User Interface, we have several menus and toolbars available.
SCREENSHOT TO BE CHANGED
Be default, Writer shows with the option "Print Layout" that shows something similar to the output of the document. The difference between what it is shown on screen and what it is printed is centred on two points, the first one being clear on the previous screenshot (about the other, we will talk below)
- Borders: the text area border, the cell borders on a table (even if the table is configured to not have borders), OLE object borders... will show on grey to help the author during edition. As we already said, those borders will not be printed nor exported to PDF. It is possible to change the colour of those borders (or eliminate them completely) under Tools → Options → Apache OpenOffice → Appearance: we have options for "Text boundaries", "Object boundaries", "Table boundaries".
- Objects inserted automatically: The table of contents and the fields show a grey background. Again, this background is not printed nor exported to PDF and it is there only during edition. To modify that background, on the same menu already mentioned on the previous point we have separated entries for "Field shadings" and "Index and table shadings"
Working with text
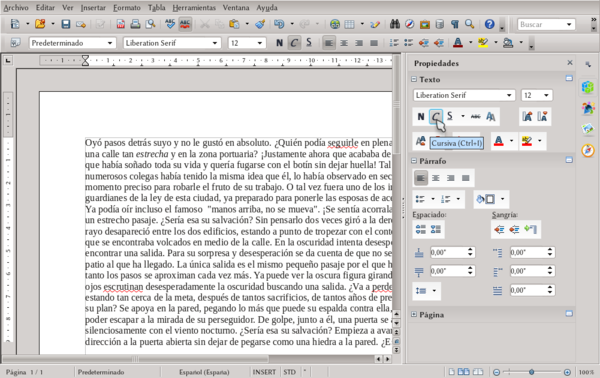
Tanto las barras de herramientas como los menús (principales y contextuales) ofrecen opciones para modificar el texto. Podemos modificar el párrafo como un todo o el texto seleccionado con Formato → Párrafo / Carácter, o con clic derecho → Párrafo / Carácter. Las opciones que se presentan son mayormente claras y volveremos sobre ellas al hablar de los estilos de párrafo y carácter.
Tanto el menú formato como el clic derecho nos ofrecen la opción de modificar la página para agregar encabezamientos o pie de página, modificar márgenes, tamaño de hoja... pero debe tenerse presente que esto modificará el estilo de página correspondiente: en Writer no existe formato directo para las páginas, el formato de las páginas se maneja solo a través de estilos. Por eso, dejaremos el análisis de cómo dar formato a las páginas de un documento para más adelante.
Listas numeradas y viñetas
En la barra de herramientas de formato tenemos dos botones que activan/desactivan las listas numeradas o las viñetas.
| En lo posible se debe evitar el uso de listas numeradas o viñetas para numerar capítulos. Más adelante veremos otras formas de realizar esto. |
También es posible activar/desactivar la numeración en un párrafo particular presionando F12 , mientras que ⇧ Shift + F12 activa/desactiva las viñetas. Con la numeración o las viñetas activas, se nos presentará la siguiente barra de herramientas
Los botones, numerados en la captura de pantalla, realizan las siguientes funciones:
- Numeración (puede usarse para cambiar de viñetas a numeración)
- Viñetas (puede usarse para cambiar de numeración a viñetas)
- Desactivar
- Disminuir un nivel
- Aumentar un nivel
- Disminuir un nivel con los subniveles
- Aumentar un nivel con los subniveles
- Introducir una línea no numerada/sin viñeta
- Mover la línea hacia arriba
- Mover la línea hacia abajo
- Mover la línea hacia arriba con todos los subniveles
- Mover la línea hacia abajo con todos los subniveles
- Reiniciar la numeración
- Propiedades de la lista
Las opciones que aparecen al presionar el último de los botones son las mismas que se tienen al editar un estilo de lista, por lo que hablaremos de ellas más adelante.
Las listas numeradas o las viñetas pueden tener «niveles», para así crear listas con sub-ítem del tipo
- Primero
- Sub primero
- Segundo
- sub segundo
- sub sub segundo
- sub segundo
Para cambiar el nivel de una línea de la lista, se usan los botones del 4 al 7, o bien, con el cursor al inicio del párrafo las teclas Tab ⇆ y ⇧ Shift + Tab ⇆ .

