Importing raster and vector graphics
- Importing raster and vector graphics
- Exporting graphics
- Modifying raster object properties
- View options
- Picture (editing) toolbar
- Cropping
- Graphic filter toolbar
- Eyedropper
- Color depth
- Conversion
- Print options with raster graphics
You can import stored graphics files choosing Insert > Picture > From File on the main menu bar or by clicking on the ![]() icon on the Draw toolbar. In the list of supported data types are many different formats; OpenOffice possesses a suitable import filter for each one. The list includes both vector and raster graphic file types(1). If your data file has a nonstandard file extension, you will have to select the file and then explicitly choose the data type.
icon on the Draw toolbar. In the list of supported data types are many different formats; OpenOffice possesses a suitable import filter for each one. The list includes both vector and raster graphic file types(1). If your data file has a nonstandard file extension, you will have to select the file and then explicitly choose the data type.
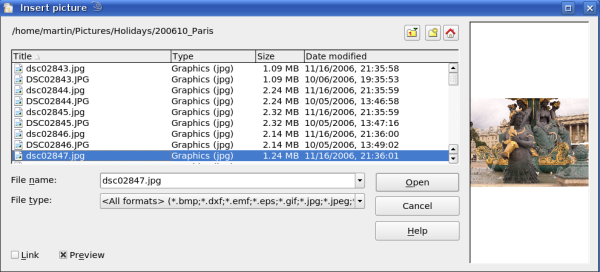
If you select the Preview checkbox in the Insert picture dialog (Figure 1), Draw shows a preview of the picture in the box on the right-hand side. This makes it much easier to choose the picture you want and you can see whether Draw can import a file of this format.
(1) An import filter for svg graphics is planned - more information can be found at http://wiki.services.openoffice.org/wiki/SVG_Import_Filter
Contents
To link or to embed?
Take careful note of the Link checkbox. When a graphic is linked, the graphic itself is not inserted into the document but rather a link to the graphic is created. This link is relative to the storage location of the document, even when it shows as an absolute link. If you store the document and the graphic in the same folder, and transport the folder as a whole to another computer, the graphic will show up in the document as before.
Linked graphics are not changed as a result of any actions carried out with OpenOffice.org. Any and all changes affect only the view of the graphic in the document and not the graphic itself. In particular the graphic’s format remains unaltered. A raster graphic is embedded in an OOo document as a PNG format image. Linking offers the advantage that the document size remains small; however, some actions do not last beyond the current session (for example Filter) or are simply not possible on a linked graphic (for example using the Eyedropper to exchange colors). If the picture is edited or even replaced by another, the link will still function. As long as the new picture is given the same name as the old one, links will be reestablished and updated when the document containing the link is next opened.
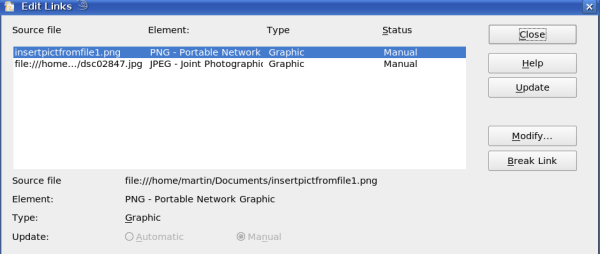
Links can easily be removed. The linked picture will then be embedded in the document. To break a link, choose Edit > Links from the main menu bar. In the Edit Links dialog (see Figure 2), choose the link to be broken and then click on the Break Link button.

Figure 2: Editing links to documents
Scanning
With most scanners you can directly insert a picture in a document from the scanner. Click Insert > Picture > Scan and then either Select Source or Request.
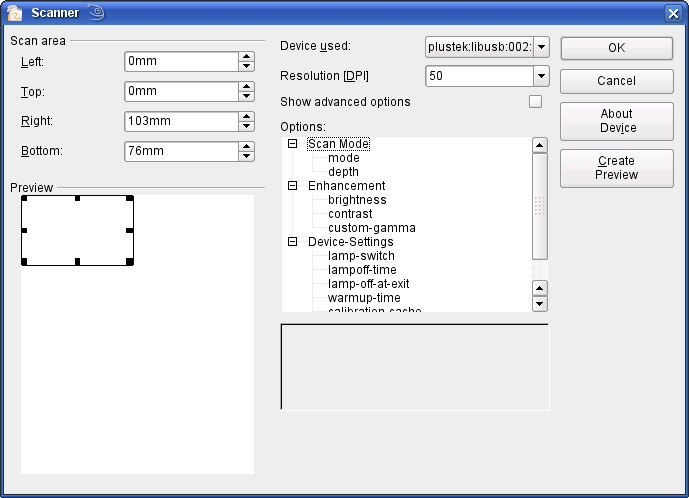
The Select Source option opens a window which acts as an interface to a scanner device. Some scanner options can be directly set from within this window. See Figure 3.

Figure 3: Select source ..... Scanner
Click on Create Preview to carry out a preview scan. The results are shown in the preview box on the left. Modify the scan area as desired and review the result as before. When you are satisfied with the scan preview output, click OK and then insert the scan into the document with Insert > Picture > Scan > Request.
Scanned images are embedded as a PNG format picture in the document.
Pasting from the clipboard
The clipboard offers another way to insert graphics. Depending on the source and the operating system, figures may be in different formats. You can obtain an overview by choosing Edit > Paste contents from the menu bar or by clicking on the small black triangle next to the Paste icon on the main toolbar.
Dragging and dropping
Drag and drop also functions in many situations. The exact way in which it works is not determined by whether the graphic is to be embedded or linked but rather the operating system in use and the source of the graphic. The behavior can often be controlled by the use of the Control or Control+Shift keys together.
Draw objects and images which are used frequently can be stored in the Gallery. Objects can be dragged from the Gallery to the Draw surface quite simply. Working with the Gallery is dealt with in detail in the section "Tailor made pictures" in Chapter 10 of this guide.
Inserting from a file
With this option complete pages or single objects from Draw or Impress documents can be inserted. In addition you can insert text in Rich Text Format (RTF), HTML format or plain text. The text will be contained in the Draw document within a text frame. The usual paragraph and character formatting options are available for this text.
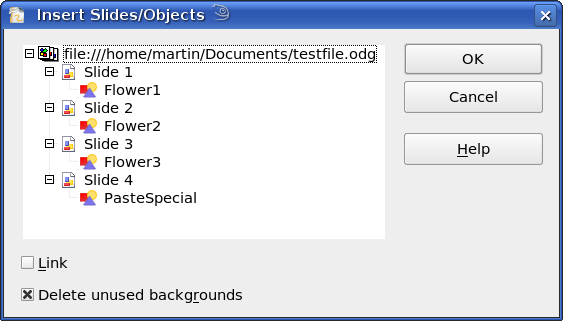
Selecting Insert > from File brings up the File selection dialog. In Draw and Impress documents a special import dialog opens (see Figure 4).
Access to single pages or slides of the document can be gained by clicking on the + sign before the file name in the selection area. You can select whether to embed or link the selected page. If the name of the page or sheet already exists in the current document, you will be requested to give it a new name before it is inserted.

Figure 4: Inserting complete pages or objects on a page
Raster graphics (for example photos) and Metafiles are marked with a ![]() symbol, Drawing objects with a
symbol, Drawing objects with a ![]() symbol. Choose the object or objects (multiple selection using the Control or Shift key is possible). The inserted object keeps its original name, if it was named in the source document. Renaming an inserted object can be performed using the context menu and the entry Name. Renaming has the advantage that the object is then listed in the Navigator.
symbol. Choose the object or objects (multiple selection using the Control or Shift key is possible). The inserted object keeps its original name, if it was named in the source document. Renaming an inserted object can be performed using the context menu and the entry Name. Renaming has the advantage that the object is then listed in the Navigator.
| Content on this page is licensed under the Creative Common Attribution 3.0 license (CC-BY). |

